Tagfolio User Guide
Everything you need to know about managing, creating, and organizing Tagfolio cards and profile v1.1
Welcome to Tagfolio!
If you’re reading this, Tagfolio is now ready for full-scale deployment. It seamlessly integrates two powerful tools: JotForm, and the Tagfolio Technician Dashboard.
In this comprehensive instruction booklet, we will walk you through the entire process of Tagfolio, ensuring you have all the knowledge and guidance you need to maximize the potential of this innovative platform.
The Role of a Technician
In the context of Tagfolio, “Technician” is the term we use to describe the individual responsible for assembling Tagfolio cards and leveraging the Tagfolio Technician Dashboard for streamlined operations.
What’s Covered
This guide will provide detailed guidance on the following key aspects of Tagfolio operations:
- Creating a Tagfolio User Profile Learn how to use the Tagfolio Technician Dashboard to set up user profiles, ensuring efficient data management and accessibility.
- Creating Physical Tagfolio Cards Get step-by-step instructions on how to craft physical Tagfolio cards, ensuring they are perfectly aligned with their Tagfolio profiles.
- Jotform Management Instructions on how to utilize the customized Jotform platform for organizing all Tagfolio profiles, ensuring that data is organized, accessible, and easy to manage.
Tagfolio is a new and dynamic platform, continuously evolving to meet customers’ needs. Therefore, please note that this booklet will be updated regularly to incorporate new features, improvements, and essential information. Stay tuned for the latest updates to keep your Tagfolio experience optimized.
The Tagfolio Process
1) User Fills out the Jotform
Profile has all information including: Name, Contact info, Company name, Logo, Profile picture, SUBMISSION ID: (automatically generated through JotForm). All information is visible and editable through the Jotform Submissions table.
2) Create vCard File
Technician makes the VCard file.
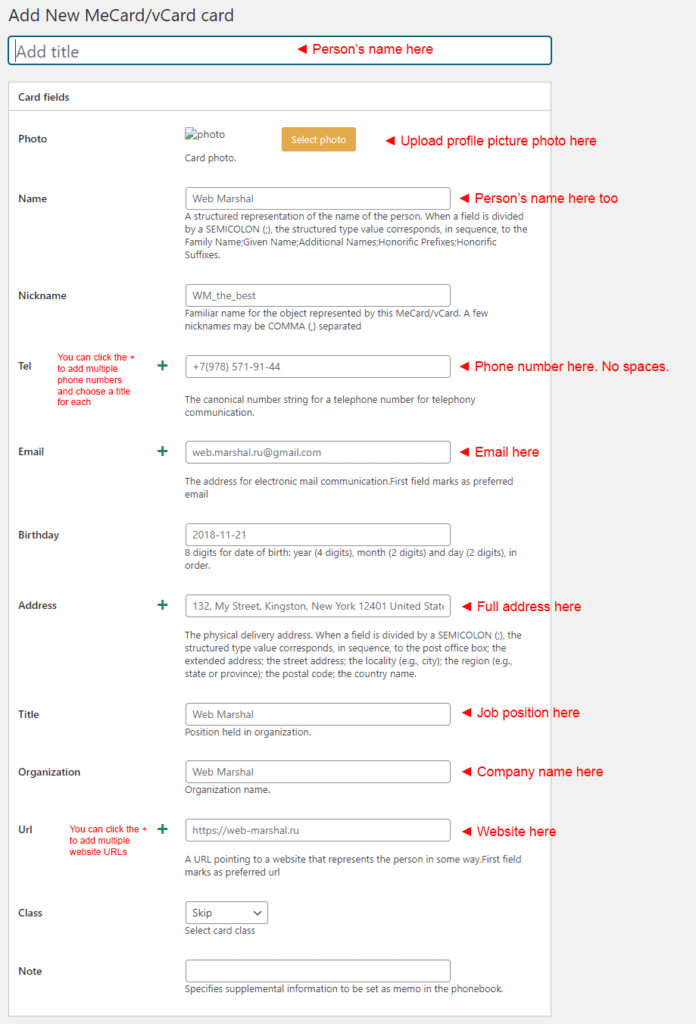
Inputs only the following contact information in the “Card Fields” section: Name, Company Name, Phone Number, Email, Address (Nothing else is really required for this part)
3) Create Tagfolio User Page
Technician builds user page with template building blocks and start filling in the information from there based on known information.
Header and Profile Pic, Name Contact and VCard, Contact Buttons, any other sections requested, QR code at the bottom etc.
4) Build NFC Card
Build physical Tagfolio card like normal. Saved QR code goes on one side.
Full Tagfolio User Page URL gets NFC’d onto the card.
Tagfolio Technician Instructions
Preliminary Step) Log into Jotform to see which Tagfolio User Profiles / Cards need to be made.
Step 1) Create vCard File on WordPress
- Technician logs into Tagfolio Technician Dashboard
- Technician goes to Make vCard section of WordPress > Add New, inputs only the following contact information in the “Card Fields” section:
- Name
- Company Name
- Phone Number
- Address
- Nothing else is really required for this part.
- Technician will use the vCard URL for the “add contact” button on the Tagfolio User Page (used on the following step)
- To get the vCard URL, do the following: go to Make vCard > Find the name of the person > Right click “Direct .VCF Link” > Copy Link Address. That’s the URL. Paste that as the URL for the “add contact” button.
NOTE: For vCards, the profile photo can ONLY be a 300x300 JPG (square) or smaller. No larger, no PNGs or anything else. To convert a non-compatible image into a compatible image, do so with Canva.
Step 2) Create Tagfolio User page
- Go to Tagfolio Profiles > Add New
- Click on “WPBakery Page Builder” > Type in the user’s name where it says “Add Title” > then Click on “Back End Editor” > Click on “My Templates”
- Begin constructing Tagfolio user page with template building blocks and start filling in the information from there based on known information. Header and Profile Pic, Name Contact and VCard, Contact Buttons, any other sections requested, QR code (put at very bottom)
- Be sure to replace the image in the Header and Profile Pic section with the headshot the user submitted (if one is available).
- Put vCard URL from previous step in “add contact” button
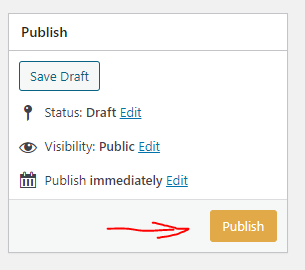
- Change URL (slug) to the SUBMISSION ID available on Jotform. Click update.
- Optional: If a user requests a custom URL, you can type that in here instead
- View page, SAVE the QR code image file.
Step 3) Construct NFC card
- Create image file for front of NFC card.
- Create image file for back of NFC card using the QR code made available after the Tagfolio user page is created.
- Print NFC card with whatever method of ID card printer available
- Write full Tagfolio User URL to NFC card.
Step 4) Update Jotform profile
- Update the User Jotform profile Tagfolio User URL field
- Update the User Jotform profile QR code image.
- Go to the completed Tagfolio User page (after the URL is set), click on the “view QR code” tab at the bottom to reveal the QR code. Right click > save image as. Upload QR code image to Jotform user profile.
Creating Unique Submission IDs for Imported Users
Get CSV file of users. Narrow down all columns to essential/importable data points. Name, Company, Phone, Email etc.
- Make a column for Submission ID
- Put in the following formula all in one line in the cell
=TEXT(NOW(), “yMMdd”)&TEXT(ROW(), “000”)&TEXT(RANDBETWEEN(1, 9999), “0000”)
This will generate a unique submission ID that has the numeric value of the year, month, day, and then a random integer between 1 and 9999.
- For larger companies with more than 10,000… God help you
- Drag the column all the way down to auto populate the rest of the Submission IDs
Import new CSV file into Jotform submission table.
NOTE: These Submission IDs will likely have different formatting and a different number of digits than Submission IDs generated from JotForm submission.
Tagfolio Technician Dashboard
After logging in to the Tagfolio Technician Dashboard, you will see a side menu with four buttons: Dashboard, Tagfolio Profiles, Make vCard, Media, and Collapse Menu.
Dashboard
This is the default page you are directed to after logging in. Nothing can be done from this page.
Tagfolio Profiles
This page takes you to a list of all Tagfolio profiles in the order that they were created. You can click on any name to begin editing that Tagfolio user profile. If you hover over the names, you can click view or edit as well.
You also have the option to add a new Tagfolio profile via the “Add New” button at the top. This is the button used to create a new Tagfolio profile.
Additionally, you can use the search bar at the top right to search a Tagfolio profile by name, company, email, or any other data point. If that data appears anywhere in any Tagfolio profile, it will appear in the search.
Make vCard
In similar functionality to the Tagfolio Profiles page, this is the page where you make vCard files for the corresponding Tagfolio profiles. This page takes you to a list of all vCards in the order that they were created.
You can click on any name to begin editing that vCard information.
You also have the option to add a new vCard via the “Add New” button at the top. This is the button used to create a new vCard.
Note: To retrieve the vCard URL to be used for the “Save Contact” button in the Tagfolio profile, right click on “Direct. VCF Link” on the corresponding name, and click “Copy Link Address” and paste this in the “Save Contact” button URL space.
Media
This is the repository for all media files stored on the Tagfolio server. This will be used for profile picture, logos, pictures, and attachments.
Note: You will also see that there are QR code files in this section. You can safely ignore these QR code files as the Tagfolio Profile page QR codes are automatically generated.
To add an image to the Tagfolio Media repository, you can click “Add New” at the top, and click select file OR you can simply drag and drop images and files into the media repository itself.
Keep in mind, Tagfolio user profile pictures MUST be a square 1:1 aspect ratio to fit properly.
Collapse Menu
This button collapses the menu.
How to Crop an Image to a Square
Please use Canva to make square images. This is the preferred method, however, if you would like to make square images through the Tagfolio Dashboard, here's how:
Step 1) Go to Media and then click on the image you wish to crop
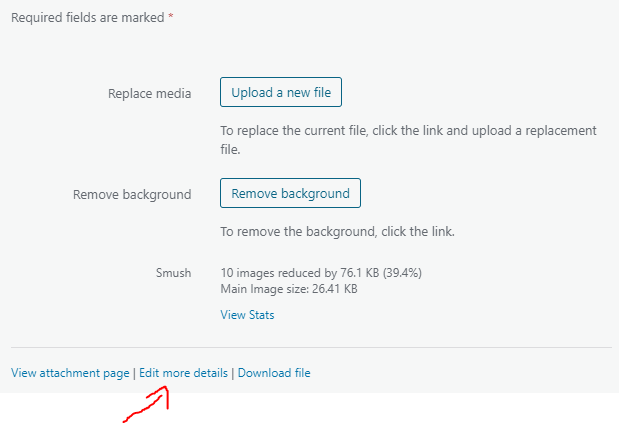
Step 2) A window will pop up with additional details about the image. Scroll to the bottom right and you will see “View Attachment Page | Edit More Details | Download File”. Click on “Edit More Details”
Step 3) Click on “Edit Image” below the image

Step 4) Click on “Crop” in the row of buttons above the image
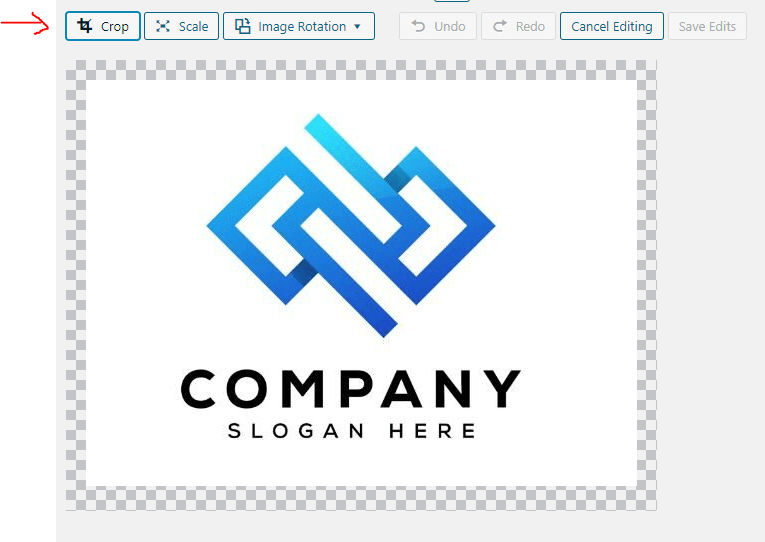
Step 5) Drag the corners of the frame to make a square. Align it to the center the best you can. Then to make it a perfect square, put “1” and “1” in both fields of the “Aspect ratio:” section. (a little error might pop up. You can ignore that) then resize the crop as you see fit now that you have a perfect square crop.
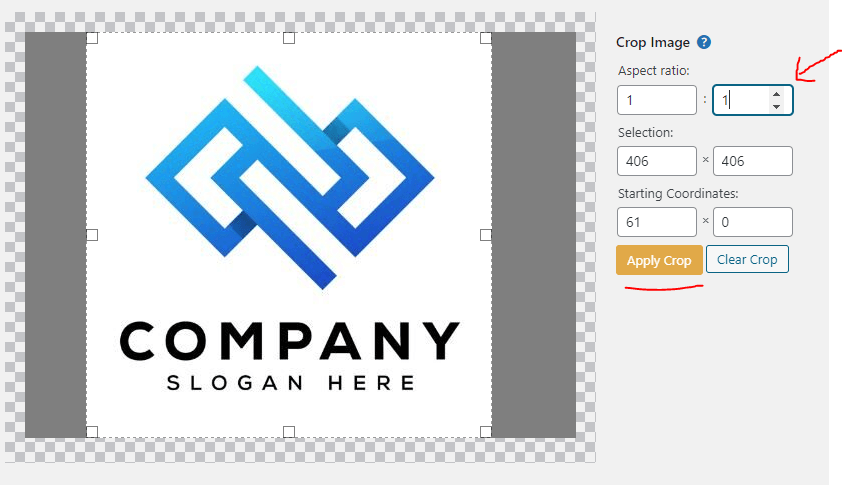
Step 6) Click “Apply Crop”
Step 7) Click “Save Edits” in the row of buttons above the image. Do not skip this step otherwise the image will not be cropped to a square.
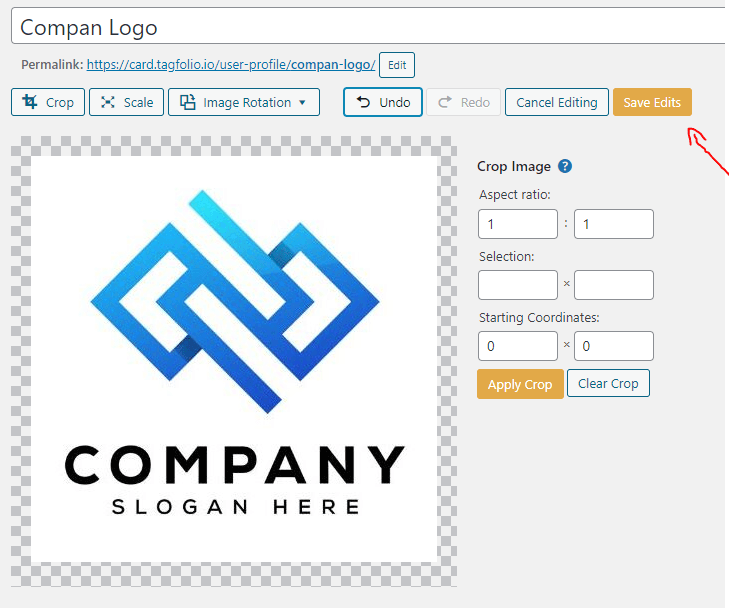
Now the image will be square.
Tagfolio profile pictures are circular, but the circular crop will only work if the profile picture upload is a 1:1 square. Rectangle profile pictures will only elongate the profile picture. Potential users are heavily encouraged to submit square profile pictures, but sometimes people still won’t despite how clear those instructions are. Here’s how to fix it.
How to Utilize Jotform Submissions
Jotform is used as the main database for Tagfolio user entries. There will be a separate Jotform form for each company or organization. Employees or individuals from companies will fill out these forms and the data will be accessible from the Jotform login. Alternatively, user data will be imported into their respective Jotform tables to be accessed by Tagfolio technicians
In order to access the submissions tab, do the following:
Step 1) Log into Jotform
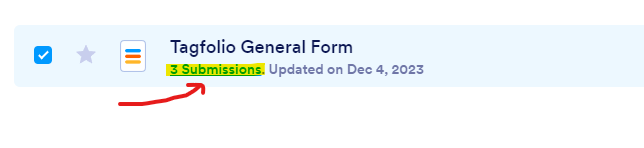
Step 2) Click on "Submissions" under the form you would like to view
You may see shortcuts to these submission tables on the Tagfolio dashboard if it is set up. This completely depends on whether or not Michael remembered to do that.
Step 3) You will then see a table with all of the submitted user information. Sometimes there may be another tab at the top that will have a more refined table of user information. This typically occurs if there is an import of data (from a CSV or Excel) without anyone filling in the form manually.
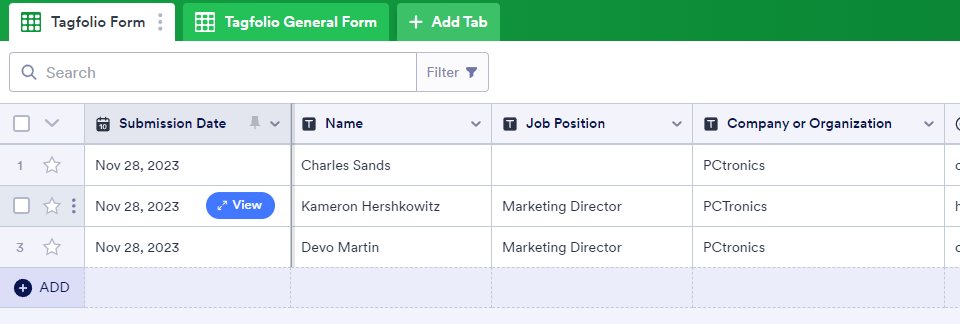
Step 4) Mouse over the name for which you would like to see the full details and click "View"
Step 5) A panel will pop out from the side of all the user's information. Simply copy and paste the information into the respective portion of the Tagfolio user profile.